
Last updated November 20, 2026
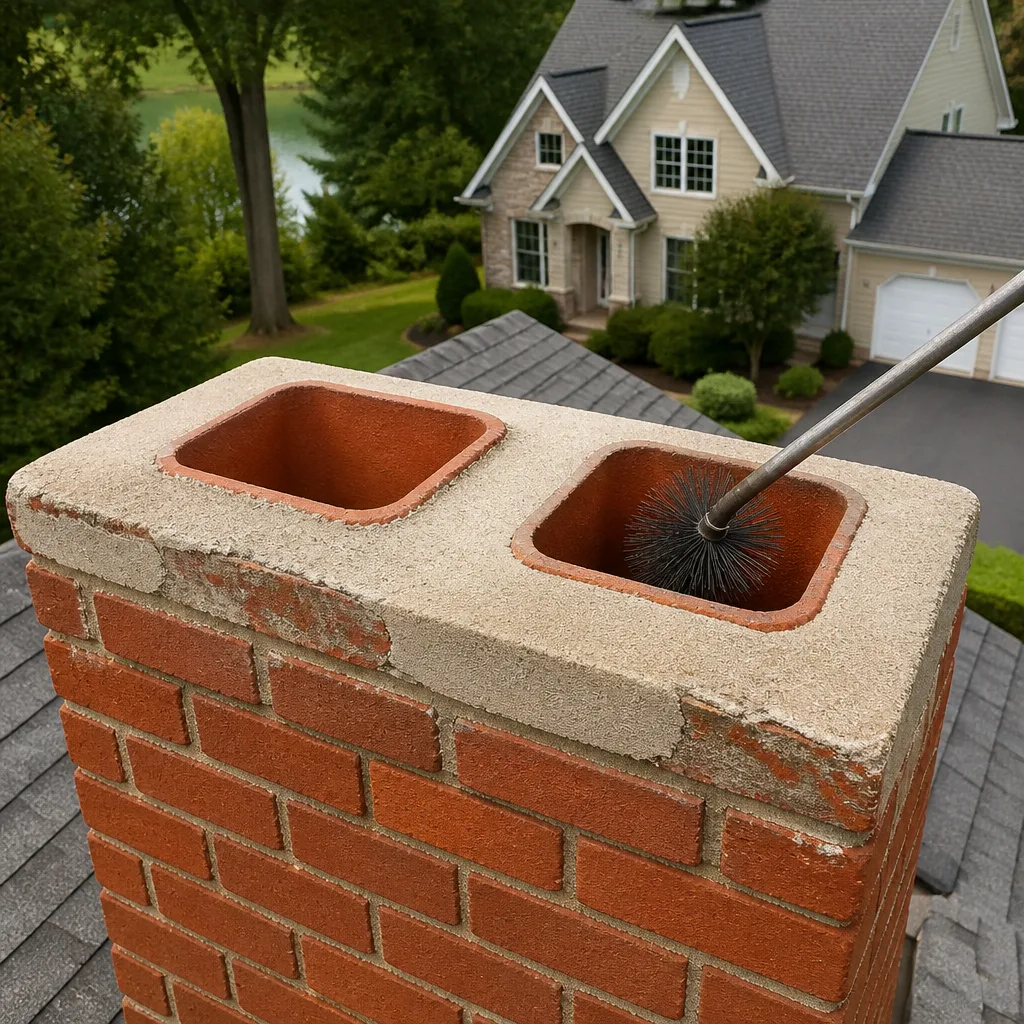 Sweep & inspection
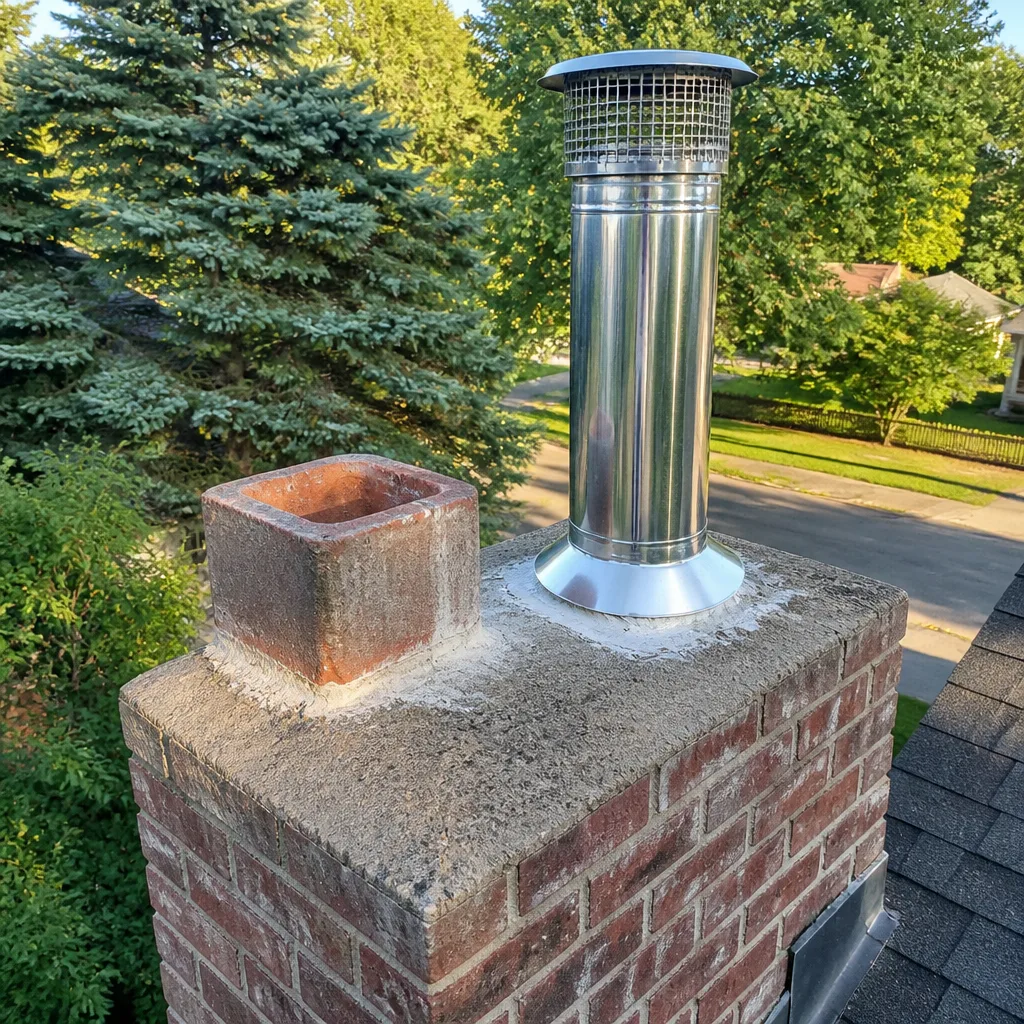
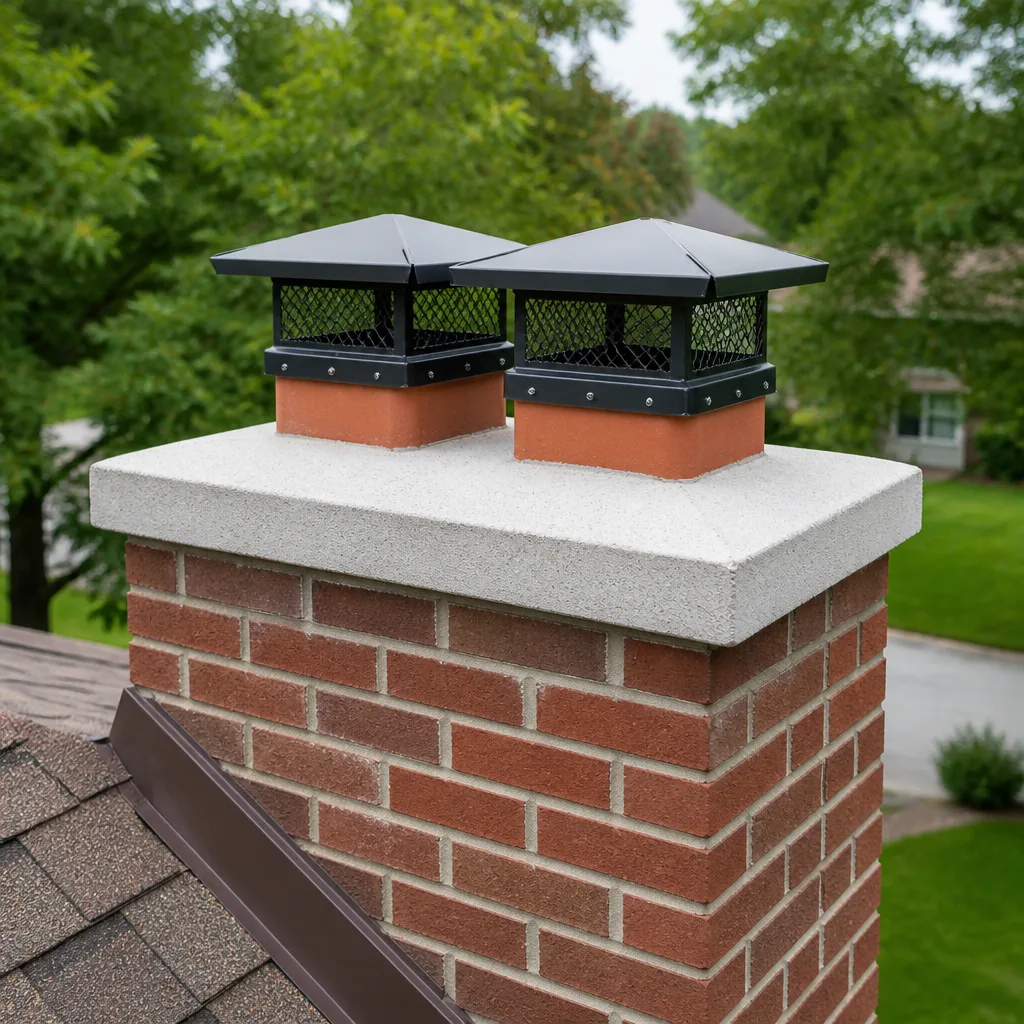 Caps & crowns
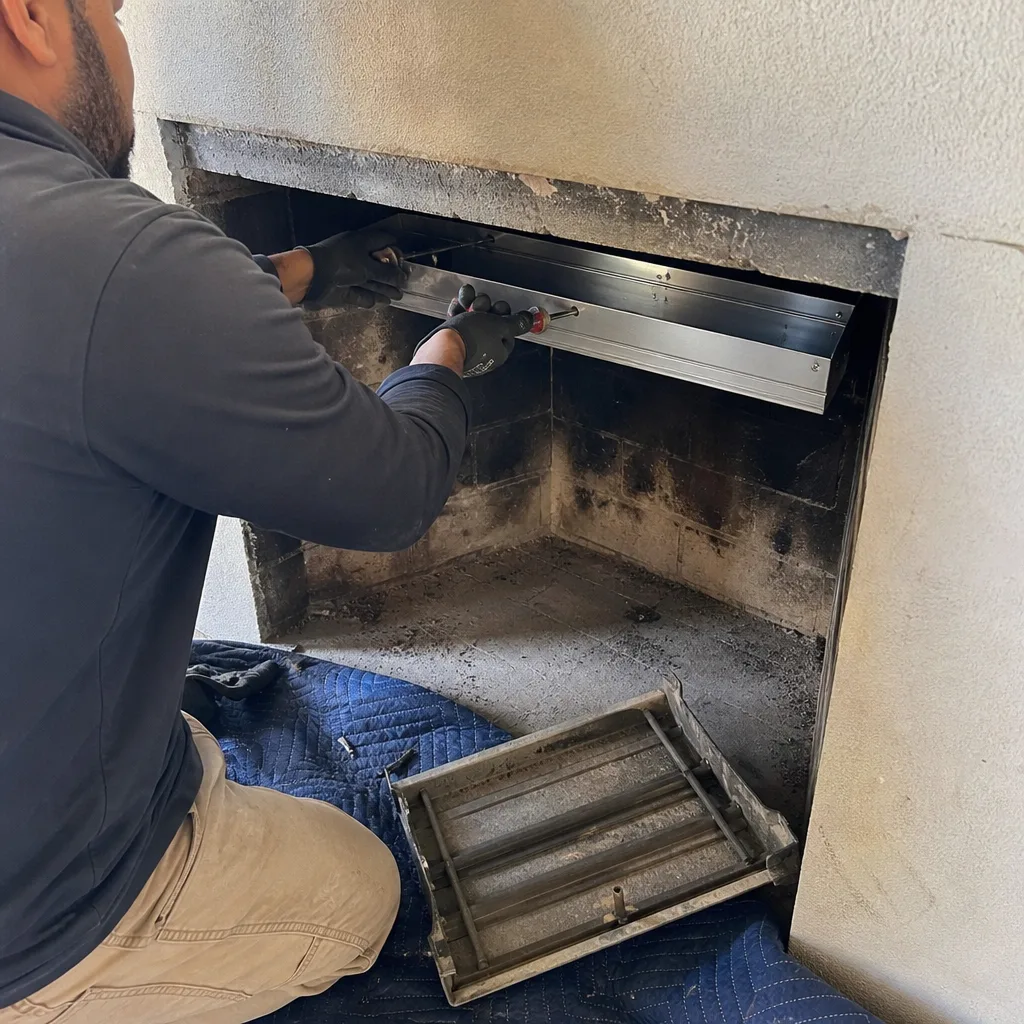
 Flue relining
 Masonry repair
 Gas fireplace service
Level 1 sweep and inspection to the NFPA 211 annual standard - flue, crown, cap, and flashing checked and photographed
Chimney sweep logs do not sweep chimneys. They loosen some creosote - which then falls where a brush and vacuum still have to collect it.
Chimney Sweep Maintenance Checklist for Tujunga Homeowners
Most chimney damage we’re called out to look at in Tujunga didn’t happen overnight. Spalled firebox brick, a cracked flue liner, a crown that’s been quietly letting water in for three rainy seasons – these are slow failures, and almost all of them show visible warning signs months before they become structural. The catch is that those signs live in six different places on the chimney, and most homeowners only know to look at one of them. This guide walks the whole system, component by component: what to check, what failure looks like, what you can safely check yourself, and what needs a camera or a technician on the roof.
Quick Answer
A chimney maintenance checklist for a Tujunga home should cover six components – damper, firebox, smoke shelf, flue liner, crown, and cap – and it should be run twice a year: once in September before burning season and once in April after the rain season ends. Ground-level and firebox checks you can do yourself; anything involving the flue interior or the roof needs a camera inspection and a trained technician. The most valuable habit is logging what you find, because that record matters at resale and in an insurance claim.
Styles & brands we work with
- Sweep & inspection
- Caps & crowns
- Flue relining
- Masonry repair
- Gas fireplace service
Table of Contents
- The Six Components of a Tujunga Chimney System
- Checks You Can Do Yourself vs. Checks That Need a Technician
- Seasonal Timing for Tujunga: September and April
- Damper and Firebox: What Failure Looks Like
- Flue Liner, Crown, and Cap: The Three Costly Failures
- How to Log Chimney Maintenance for Resale and Insurance
- Common “Pass” Items That Actually Warrant Follow-Up
- Common Mistakes to Avoid
The Six Components of a Tujunga Chimney System
A chimney isn’t one thing. It’s six working parts that fail in six different ways, and a maintenance checklist is only useful if it treats each one on its own terms. Here’s how we organize it, and it’s the same framework our technicians use on a chimney sweep visit.
- Damper – the metal plate above the firebox that controls airflow. Fails by seizing, rusting, or no longer sealing flat. A damper that won’t close fully is a heat-loss problem in winter and an air-quality problem year-round.
- Firebox – the brick or refractory chamber where the fire sits. Fails by spalling (faces flaking off), cracking mortar joints, or loosening brick. This is the component most often ignored because it’s the one nobody photographs.
- Smoke shelf – the ledge at the base of the flue that redirects downdrafts back up. Fails by accumulating soot and debris until it stops doing its job, which shows up as smoke rolling into the room when you light a fire.
- Flue liner – the clay tile or stainless liner that carries exhaust up and out. Fails by cracking, spalling, or separating at the joints. A failed liner is the single most expensive item on this list to defer.
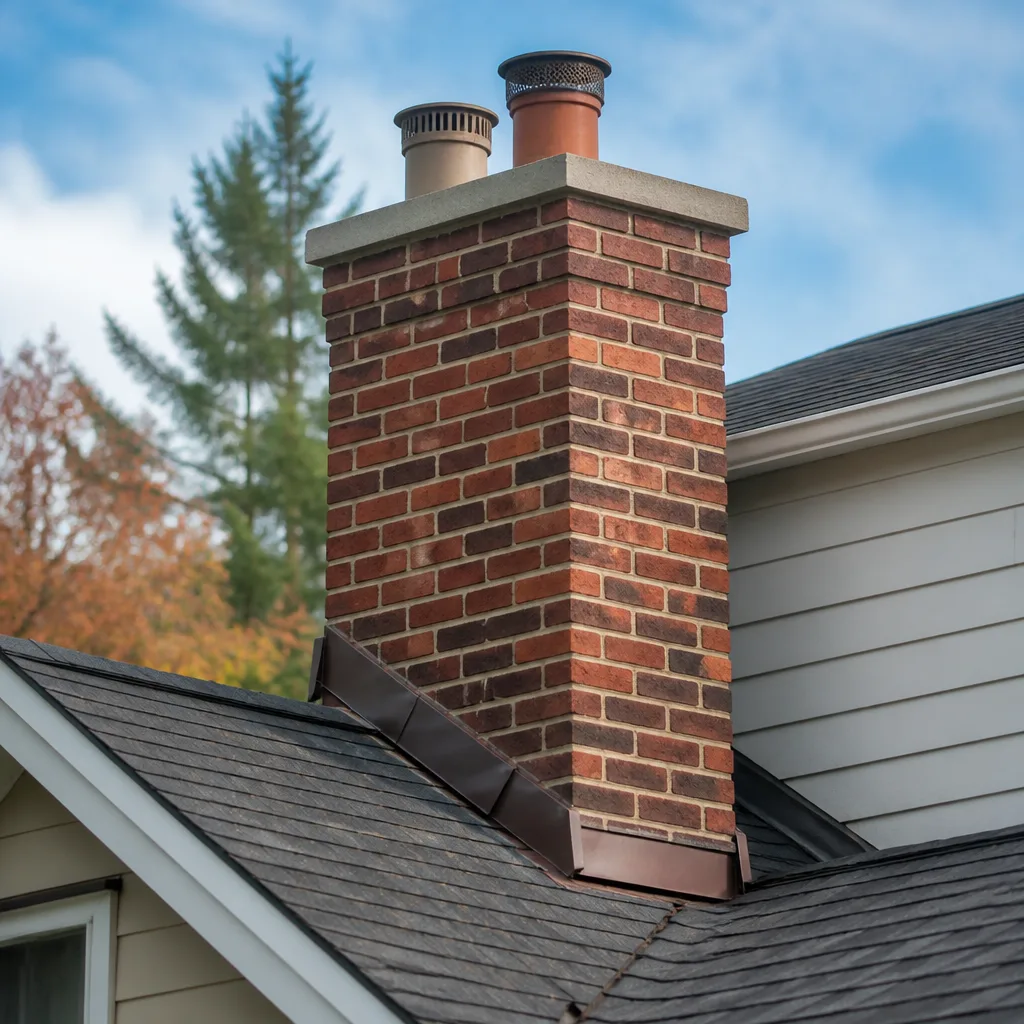
- Crown – the concrete cap at the very top that sheds water away from the flue. Fails by hairline cracking, then bigger cracking, then crumbling. Small crown cracks look cosmetic and are not.
- Cap – the cover over the flue opening. Fails by rusting through, coming loose in wind, or being the wrong fit entirely. A missing or loose cap is an open door for rain, birds, and squirrels.
What makes this framework worth the effort is that failures cascade. A cracked crown lets water into the flue. Water freezes and expands in the tile – rarely in Tujunga’s mild winters, but spalling happens from repeated wetting and drying regardless. The liner cracks. The firebox starts taking on moisture. Two seasons later you’re looking at liner and firebox work instead of a crown repair. Our chimney cap & crown work exists precisely because those two components start most of the cascade.
Checks You Can Do Yourself vs. Checks That Need a Technician
You can inspect about half of a chimney system yourself with no tools and no roof access. The other half needs a camera and training, and knowing which is which saves you both money and risk.
Checks a homeowner can do safely
- Look up the flue from the firebox with a flashlight, damper open. You’re looking for daylight where there shouldn’t be any, heavy soot glaze, or visible tile gaps.
- Open and close the damper by hand. It should move freely and seat flat. Grinding or a stuck plate is a note-to-self, not a repair.
- Inspect the firebox brick faces for flaking, white staining, or crumbling mortar. Run a finger along a mortar joint – if it crumbles, it’s failing.
- Check the firebox floor for cracked hearth brick and any gap between the floor and the surround.
- From ground level, look at the crown and cap with binoculars. You’re checking for visible cracks in the crown, a tilted or missing cap, and rust streaks.
- Check for water staining on the chimney breast inside the house and on the ceiling near the flue. Staining is a moisture signal, not a cosmetic one.
Checks that need a technician
- Anything inside the flue above the first few feet – a camera inspection is the only way to see cracked tile, gaps at joints, or a liner that’s separated.
- The crown and cap from on top, where you can see the full perimeter and the flashing where the chimney meets the roofline.
- The smoke shelf, which sits behind the damper and can’t be seen from below.
- Draft testing, which involves measuring airflow rather than eyeballing it.
We don’t recommend climbing your own roof for this. A wet roof, a steep pitch, and a flashlight in one hand isn’t a maintenance task – it’s a risk. Our technicians have up to 9 years of experience and the equipment to see what a ground-level look can’t. If something on your self-check list looks off, that’s the point to have it looked at properly.
Seasonal Timing for Tujunga: September and April
In Tujunga, the two inspection windows that matter are September and April, and each catches a different class of problem. September sits at the end of the dry season, right before the fireplace gets used again. April sits at the end of the rain season, when any water-related damage from the winter has already happened and is still visible.
Why September matters
By September, a chimney has been sitting unused for months. Soot and creosote have had time to harden and settle. Any animal that took up residence over the summer has left nesting material in the flue. And the burning season is about to start, which means this is the last window where a problem can be found and fixed before you’re depending on the fireplace. A September sweep and inspection means you go into the season knowing the liner, the damper, and the smoke shelf are in working order.
Why April matters
Tujunga’s rain season is the real stress test for the crown, cap, and flashing. Water is the most common cause of chimney damage in this area, and the damage happens quietly over the wet months. An April inspection catches a crown that’s started to crack, a cap that’s come loose in winter wind, or flashing that’s pulled away from the roofline – before summer heat bakes the problem in. April also gets the winter’s soot out of the flue before it can absorb moisture and turn corrosive.
The annual rhythm
- September: full sweep, camera inspection, checklist run top to bottom. This is the pre-season tune-up.
- Mid-season (December or January): a quick self-check – damper, firebox faces, no smoke rolling into the room.
- April: post-rain inspection focused on crown, cap, flashing, and any water staining inside the house.
- After any significant storm: a visual ground-level check for a dislodged cap or new crown cracks.
Homes in the hillside neighborhoods above Tujunga tend to see more wind exposure on the cap and more water tracking along the roofline, so the April check is especially worth keeping. The September and April rhythm is the schedule we build every Tujunga homeowner’s maintenance around.
Damper and Firebox: What Failure Looks Like
The damper and firebox are the two components you can see and touch without help, which makes them the two most often self-diagnosed and the two most often misread. Here’s what each failure actually looks like.
The damper
A working damper moves freely and seats flat against its frame. Failure shows up in three forms:
- Sticking or seizing – the plate doesn’t pivot cleanly. Often rust or soot buildup on the hinge. Sometimes a bent frame.
- Not sealing – the plate closes but leaves a visible gap. This means heat escapes up the flue when the fireplace is off, and cold air comes down when it’s cold out.
- Rusted through – the plate itself has corroded to the point where it’s structurally weak. This is a replacement, not a repair.
A damper that doesn’t seal properly is a draft problem disguised as a comfort problem. If your fireplace feels cold when it’s not in use, the damper is the first thing to check.
The firebox
Firebox failure is the one homeowners most often miss because it looks like surface wear. What to look for:
- Spalling – brick faces flaking or popping off. The brick underneath is now exposed and weaker.
- Crumbling mortar – joints that crumble when you touch them. The firebox is losing its seal.
- White staining – a chalky residue on the brick that signals moisture has been moving through it.
- Cracked hearth floor – cracks in the brick at the base, especially where the floor meets the surround.
- Loose or missing brick – any brick you can wiggle by hand is a firebox that needs attention before the next fire.
Firebox damage is repairable, and it’s part of the fireplace repair work we handle alongside the chimney itself. What matters is catching it at the flaking stage instead of the loose-brick stage. Our technicians have up to 9 years of experience reading exactly this kind of wear, and they’ll tell you plainly when a firebox is cosmetic and when it isn’t.
Flue Liner, Crown, and Cap: The Three Costly Failures
These three components are where the real money lives, and all three fail quietly. The liner, crown, and cap are out of sight or out of reach, so they’re the three items most often deferred until they cascade into structural repair.
The flue liner
The liner carries exhaust and protects the chimney structure from heat and corrosive byproducts. It’s clay tile or stainless, and it fails in ways you can’t see from below:
- Cracked tile – often hairline at first, then opening up. A camera inspection is the only way to find these.
- Separated joints – tile sections that have shifted or gapped, letting exhaust escape into the chimney cavity.
- Spalling inside the flue – the inner face of the tile flaking off, narrowing the flue and roughening the surface where creosote can collect.
A failed liner is the reason we treat a sweep as an inspection, not just a cleaning. If we find liner damage, we can resurface it with HeatShield rather than jumping straight to a full reline – HeatShield is a specialized liner-resurfacing material, and applying it is a skill set beyond standard sweeping. For liners past resurfacing, we install DuraFlex stainless liner systems, and for components like caps we source from Gelco and Copperfield. The point is that finding a liner problem during the sweep doesn’t mean handing you off to a second contractor.
The crown
The crown is the concrete top that sheds water away from the flue. It fails in a predictable sequence: hairline cracks, then wider cracks, then crumbling at the edges, then separation from the flue tile. A hairline crack in the crown looks cosmetic and is the single most common entry point for water into a chimney. April is when crown cracks are most visible, because the rain season has already done its work.
The cap
The cap keeps rain, birds, and squirrels out of the flue. Failure forms:
- Rust-through – a metal cap that’s corroded to the point of holes.
- Loose or shifted – a cap that’s come out of level or is sitting crooked after a wind event.
- Wrong fit – a generic cover that doesn’t seal the flue opening properly, which lets water in around the edges.
A fitted cap from a manufacturer like Gelco or Copperfield is a different product from a hardware-store cover, and it’s the difference between a cap that seals and a cap that looks like it does. Cap and crown work is the most common repair we do in Tujunga, because it’s where most chimney damage starts.
How to Log Chimney Maintenance for Resale and Insurance
A maintenance log is the least glamorous item on this checklist and the one most homeowners skip. It’s also the item that pays for itself twice – once at resale, once in an insurance claim.
Here’s what a useful log contains:
- Date and service performed – sweep, inspection, cap replacement, crown repair, liner resurfacing. Specific beats general.
- Who did the work – the company name, and the technician’s findings in their words.
- What was found – the actual inspection notes, including anything flagged as “monitor” or “no action needed.” Those notes prove the system was being watched.
- Photos – before-and-after photos of the flue interior, crown, and cap. Camera inspection photos are the most valuable pages in the log.
- Materials used – brand and product for any component replaced. If a liner was resurfaced with HeatShield, note it. If a cap was replaced with a Gelco, note it. Materials records matter when a future inspector asks what’s in the chimney.
- Receipts and estimates – keep the written estimate alongside the invoice. The estimate shows the scope, the invoice shows it was done.
At resale, a clean maintenance log tells a buyer the chimney has been maintained rather than ignored, which is the kind of thing a home inspector will ask about. In an insurance claim, the log is evidence that damage was found and addressed on a schedule, not caused by neglect. We hand over inspection photos and findings in a form you can file – that’s part of what a camera inspection produces, and it’s why we include it with the sweep.
The simplest system that works: one folder, digital or paper, with the inspection report and photos from each visit, labeled by date. Two entries a year, September and April, and you have a record that’s genuinely useful.
Common “Pass” Items That Actually Warrant Follow-Up
Some findings look like a pass and aren’t. These are the items we most often see homeowners wave off, and the reasons each one deserves a second look.
Hairline crown cracks
A hairline crack in the crown looks like surface wear. It’s the entry point for water into the flue, and water is the most common cause of chimney damage in Tujunga. A hairline crack in September is a wider crack by the next April. Catching it while it’s a sealant job instead of a crown rebuild is the whole point of the April inspection.
A cap that’s slightly off-level
A cap that’s tilted a few degrees looks fine from the ground. It means the cap is loose, and a loose cap lets water in around the edges and comes off entirely in the next wind event. Off-level is a follow-up item, not a pass.
Minor spalling on firebox brick
A little flaking on a firebox brick looks like normal wear. It’s the first stage of the brick weakening, and the mortar joints around it are usually failing at the same time. Spalling is worth a professional look before the next burning season.
A damper that closes “most of the way”
A damper that seals except for a small gap is a damper that isn’t sealing. The gap is a draft path, and it’s the reason a fireplace feels cold when it’s not in use. Worth fixing before the next season.
Light soot glaze on the flue walls
A light glaze of soot looks like a chimney that’s been used normally. Glaze is the stage where creosote is hardening and becoming harder to remove, and it’s the stage where a sweep is most effective. Waiting until it’s a heavy deposit makes the sweep harder and the flue riskier.
Common Mistakes to Avoid
- Skipping the April inspection because the fireplace is off. April is the inspection that catches water damage from the rain season. It’s the more important of the two visits, not the less.
- Treating a sweep as a cleaning only. A sweep without an inspection misses the liner, crown, and cap – the three components where real damage starts.
- Assuming a cap is optional. A missing or loose cap is an open flue. Rain, birds, and squirrels get in, and the damage shows up months later.
- Ignoring hairline crown cracks as cosmetic. They’re the most common water entry point in Tujunga chimneys, and they widen every rain season.
- Not logging anything. A maintenance log is what makes a resale inspection or an insurance claim go smoothly. Two entries a year is enough.
- Climbing the roof for a DIY inspection. A wet roof and a flashlight is a risk, not a check. Ground-level and firebox checks are the safe DIY portion; the roof and flue interior need a technician.
- Waiting for smoke in the room before acting. Smoke rolling into the room is a late-stage symptom of a smoke shelf or draft problem. The earlier signals are on this checklist.
See the difference
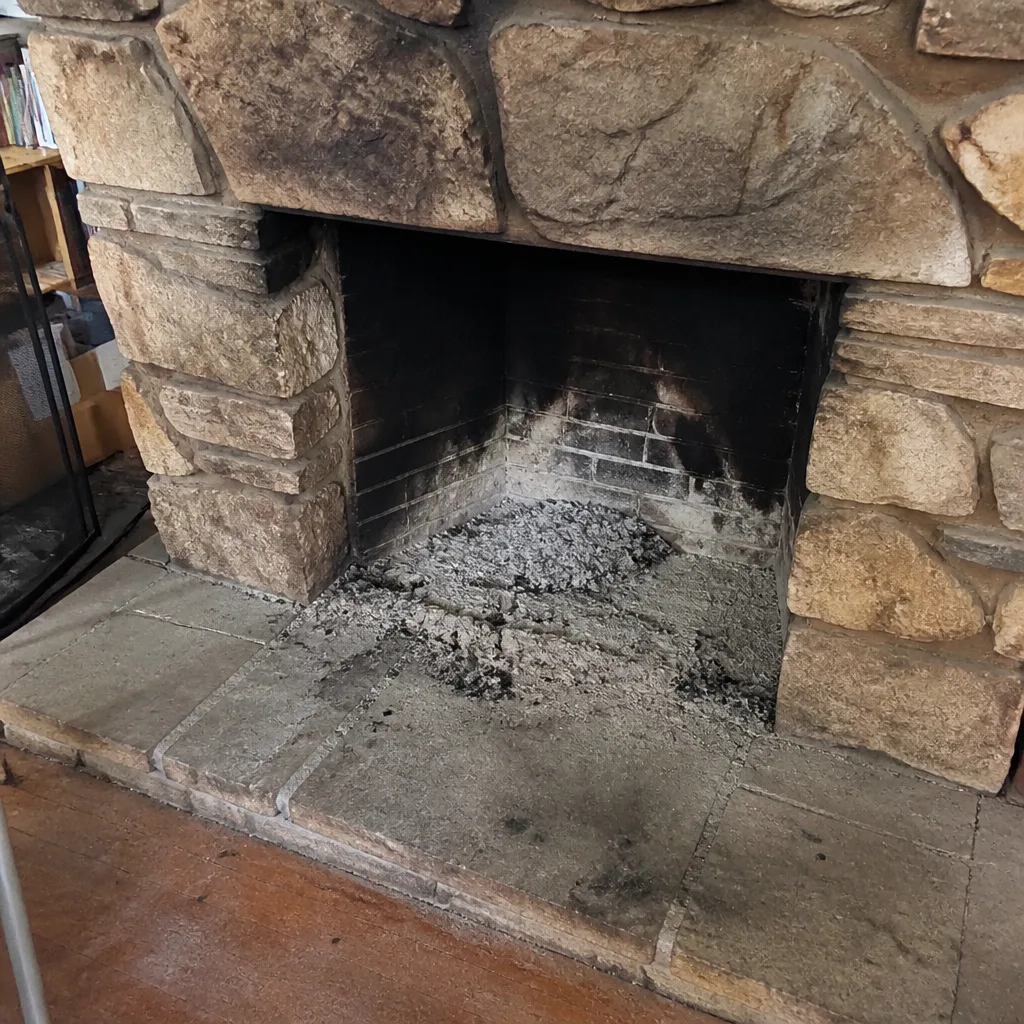 Before
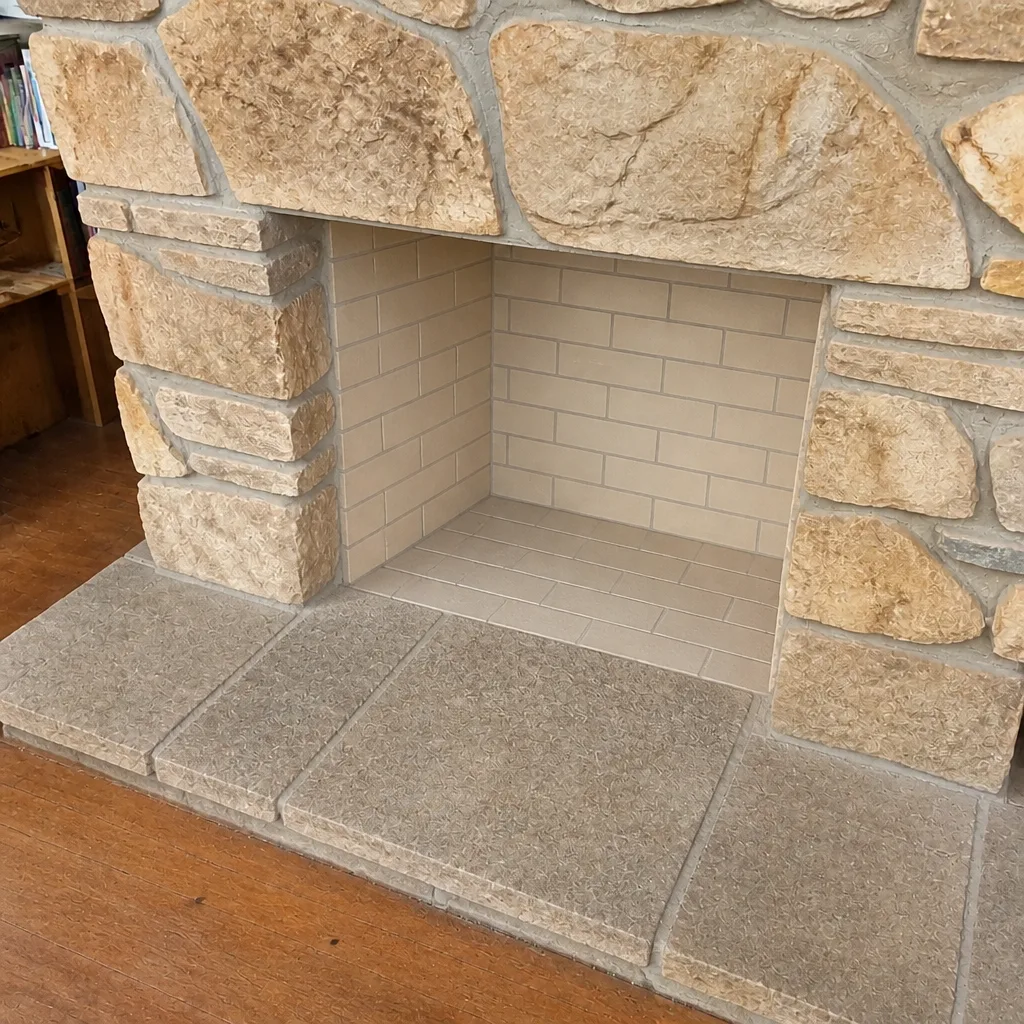 After
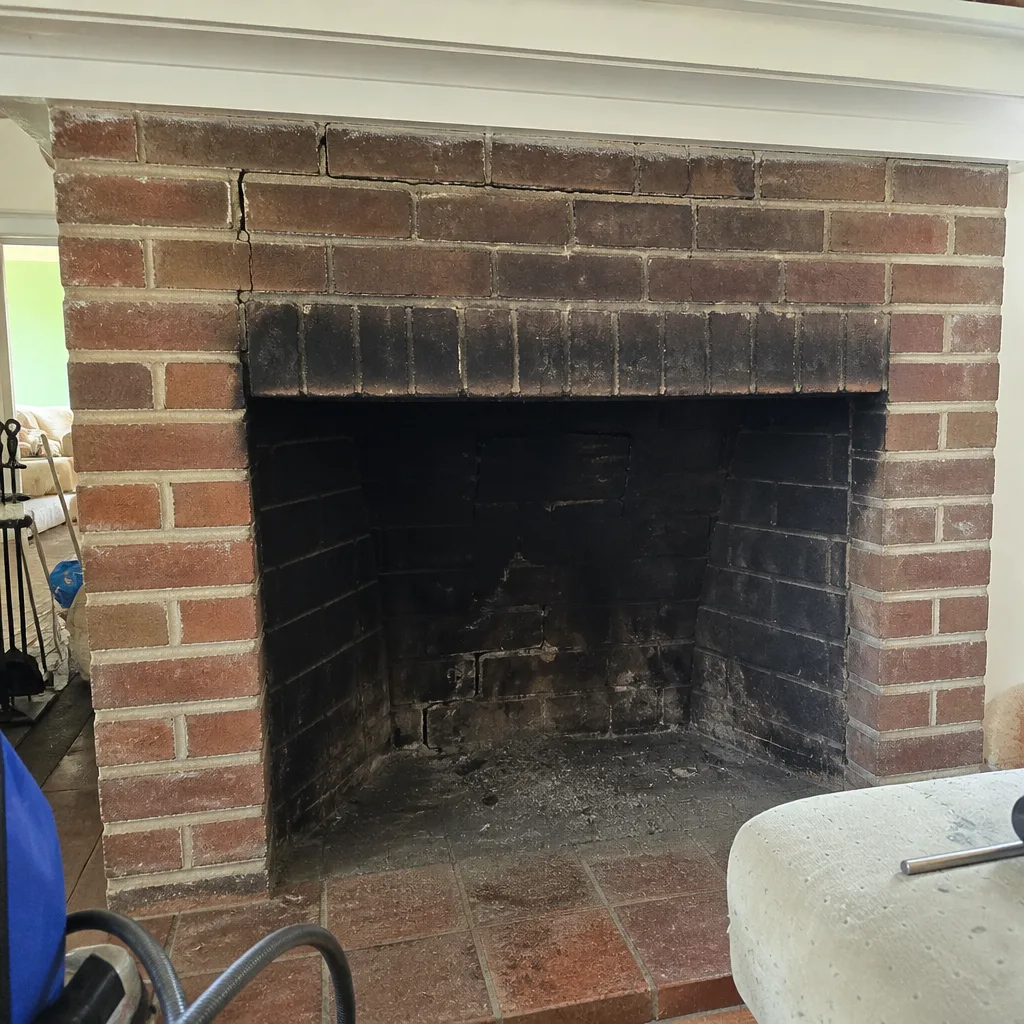 Before
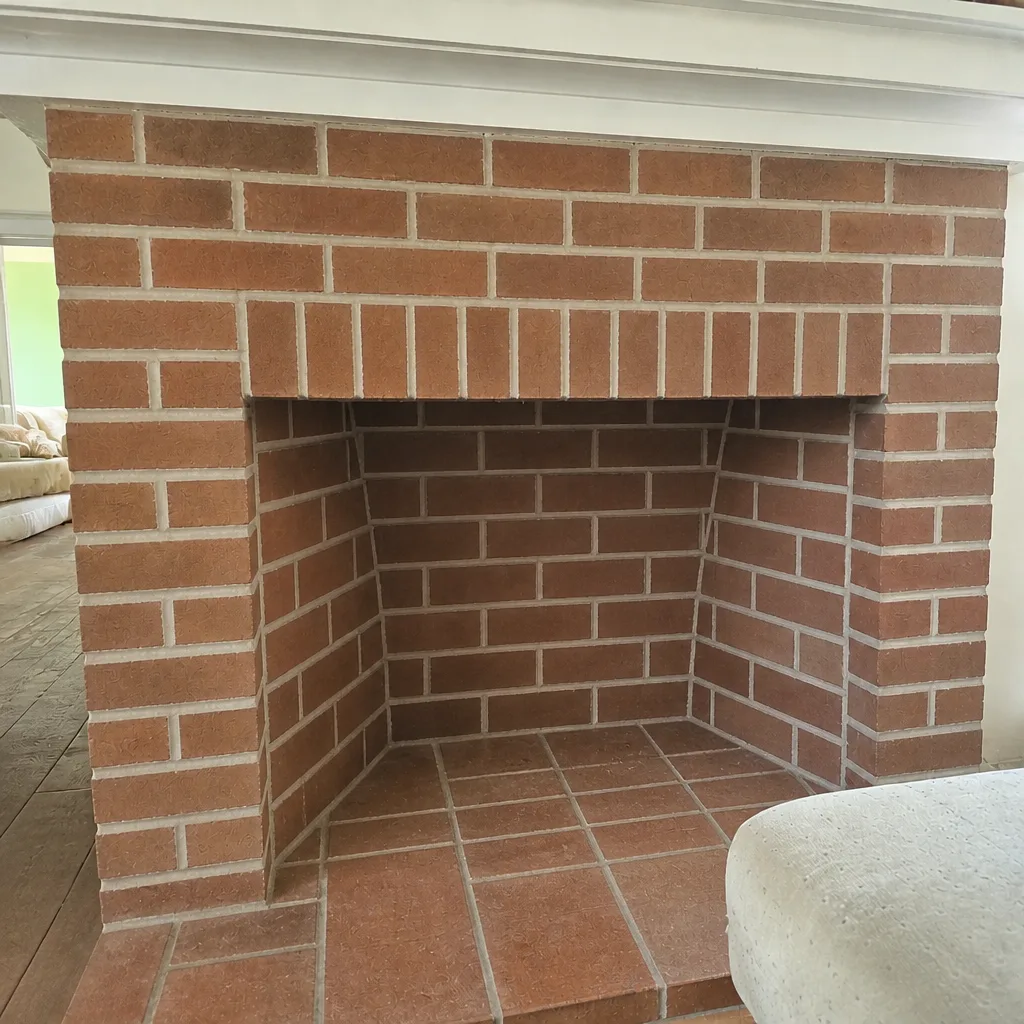 After
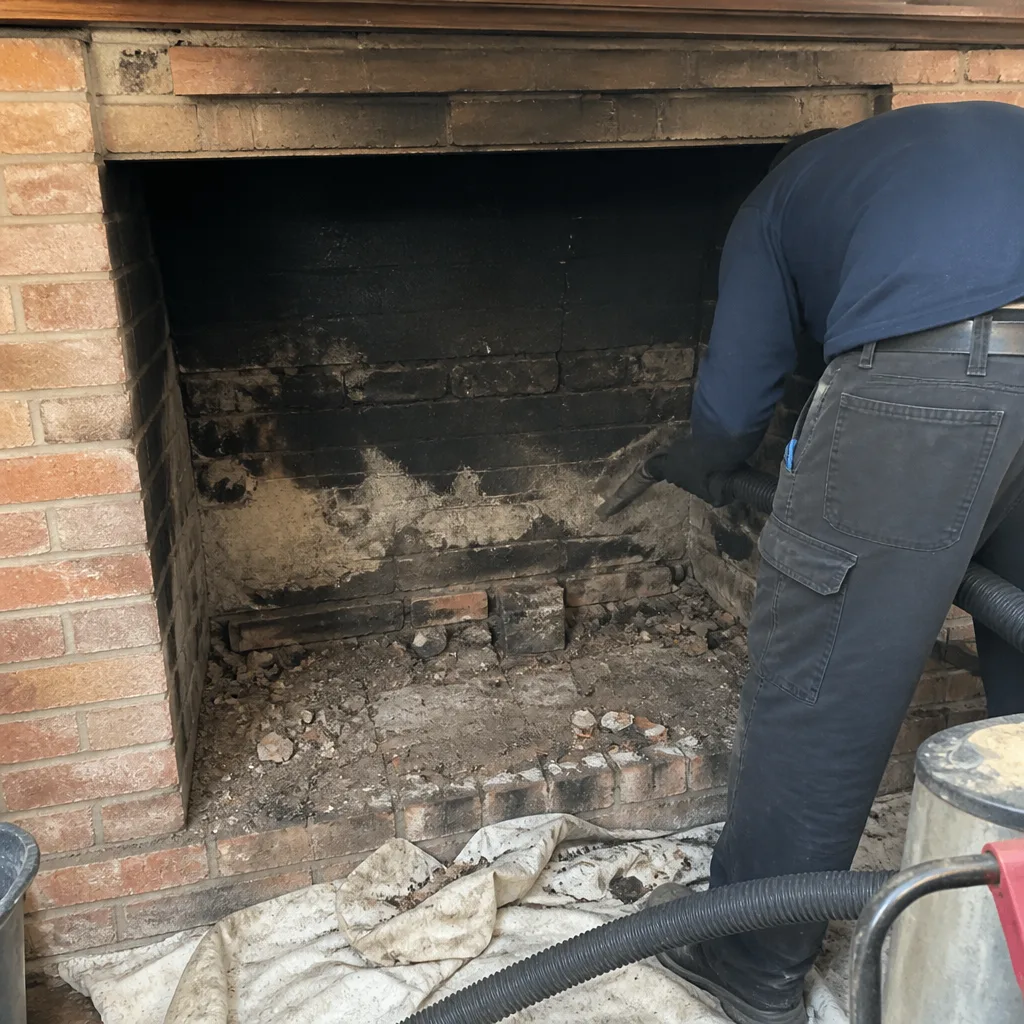 Before
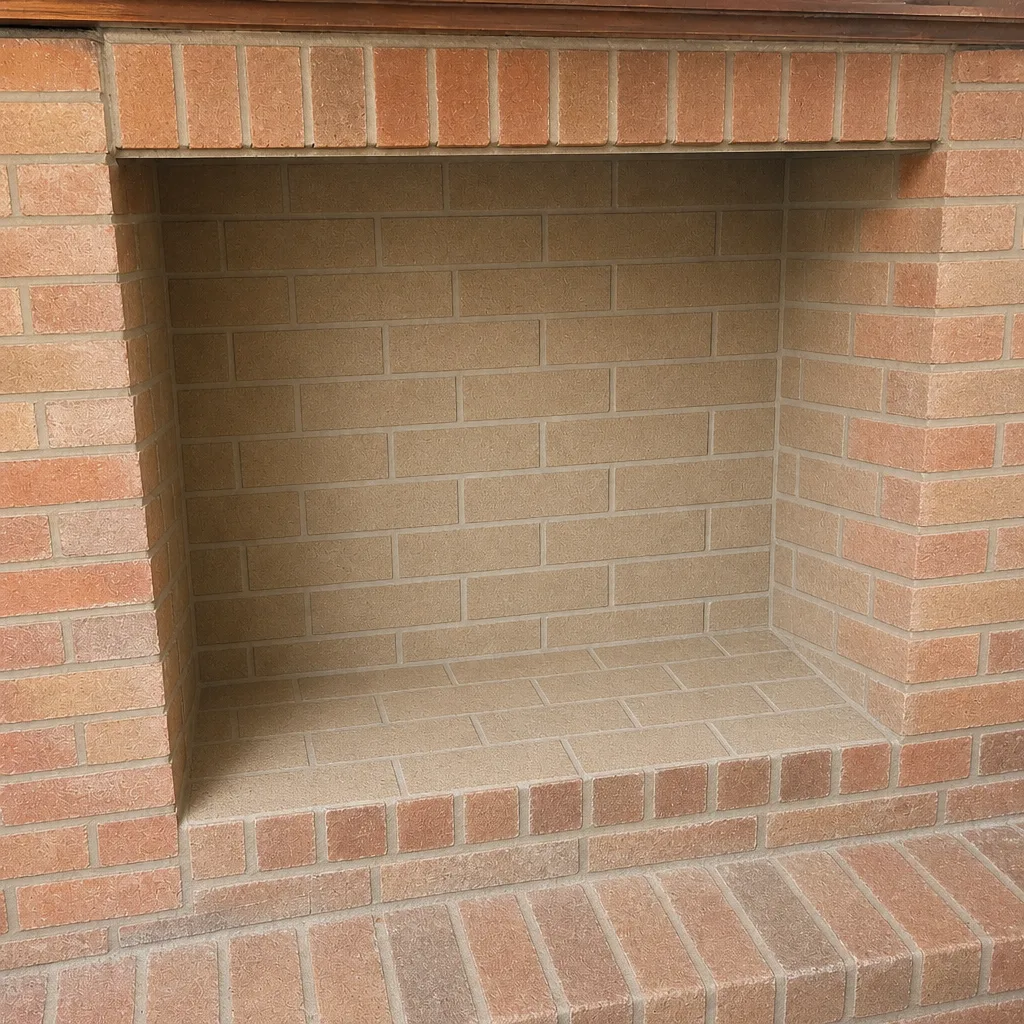 After
When to Call a Professional
Some of this checklist is yours to run. These are the situations where the answer is a call, not a DIY project:
- Any finding inside the flue – cracked tile, gaps, heavy glaze. That needs a camera inspection.
- A crown with visible cracks, crumbling, or separation from the flue tile.
- A cap that’s loose, rusted through, or the wrong fit for the flue opening.
- Firebox spalling, crumbling mortar, or a brick you can move by hand.
- Smoke rolling into the room, a fireplace that won’t draft, or a damper that won’t seal.
- Any water staining on the chimney breast or nearby ceiling.
Chimney Sweep Tujunga offers free estimates in Tujunga – call (844) 968-2733. We answer 24/7. Fast dispatch from 7am to 7pm, Sunday through Friday. Inspection and repair are handled together, so a finding doesn’t turn into a hand-off.
Frequently Asked Questions
Twice a year: once in September before burning season and once in April after the rain season. A sweep is typically annual, but the April inspection is what catches water damage from the winter. Call (844) 968-2733 for an exact quote – estimates are free.
A sweep removes soot and creosote; an inspection evaluates the condition of the liner, crown, cap, firebox, and damper. In practice they should happen together, because a sweep without an inspection misses the components where damage starts. We do both on the same visit.
You can safely check the damper, firebox brick faces, firebox floor, and – from ground level with binoculars – the crown and cap. Anything inside the flue above the first few feet, or on the roof, needs a camera inspection and a trained technician. Don’t climb the roof for a check.
Visible cracks, crumbling at the edges, or separation from the flue tile all mean the crown needs repair. Hairline cracks are the most common sign and the most common water entry point, so they’re worth a professional look even when they seem cosmetic.
Deferred maintenance on a chimney cascades. A cracked crown lets water into the flue, the liner cracks, and the firebox takes on moisture. Two seasons of that turns a crown repair into liner and firebox work. The September and April checks exist to catch each stage before it cascades.
It depends on the cap’s condition and fit. A rusted-through cap, a cap that’s loose or off-level, or a generic cover that doesn’t seal the flue opening all warrant replacement. A fitted cap from a manufacturer like Gelco or Copperfield seals properly; a hardware-store cover often doesn’t.
Yes. A dated log with inspection findings, photos, and materials used is what makes a resale inspection and an insurance claim go smoothly. Two entries a year is enough. It’s the cheapest item on this checklist and the one that pays for itself twice.
The Bottom Line
A Tujunga chimney maintenance checklist works when it’s organized around six components – damper, firebox, smoke shelf, liner, crown, and cap – and run on two dates, September and April. Do the safe DIY checks yourself: damper, firebox faces, firebox floor, and a ground-level look at the crown and cap. Everything in the flue and on the roof goes to a technician with a camera. Log what you find, because the record matters at resale and in a claim. And treat hairline crown cracks, slightly off-level caps, and minor firebox spalling as follow-up items, not passes. Chimney Sweep Tujunga handles the sweep, the inspection, and the repair as one visit. Call (844) 968-2733 for a free estimate. We answer 24/7. Fast dispatch from 7am to 7pm, Sunday through Friday.
Written by the team at Chimney Sweep Tujunga.